Photography Tips · Part 2
A photograph begins before you press the shutter. Something makes you stop: a patch of light, an unexpected colour or a little garden visitor going about its business. Giving that first impression a few seconds of attention is often more useful than taking another twenty pictures from the same spot.
This applies whether you use a phone, a compact camera like my Lumix or a camera with interchangeable lenses. Today’s exercise is about choosing what belongs in the picture. No new equipment required; your feet will do much of the work.
Decide what you want us to notice
Ask yourself what attracted you. If it was a flower’s shape, make the shape clear. If it was a bird’s behaviour, leave enough space to understand what it is doing. There is no rule that every photograph must show the whole subject. Equally, a close view is not always the most interesting one.
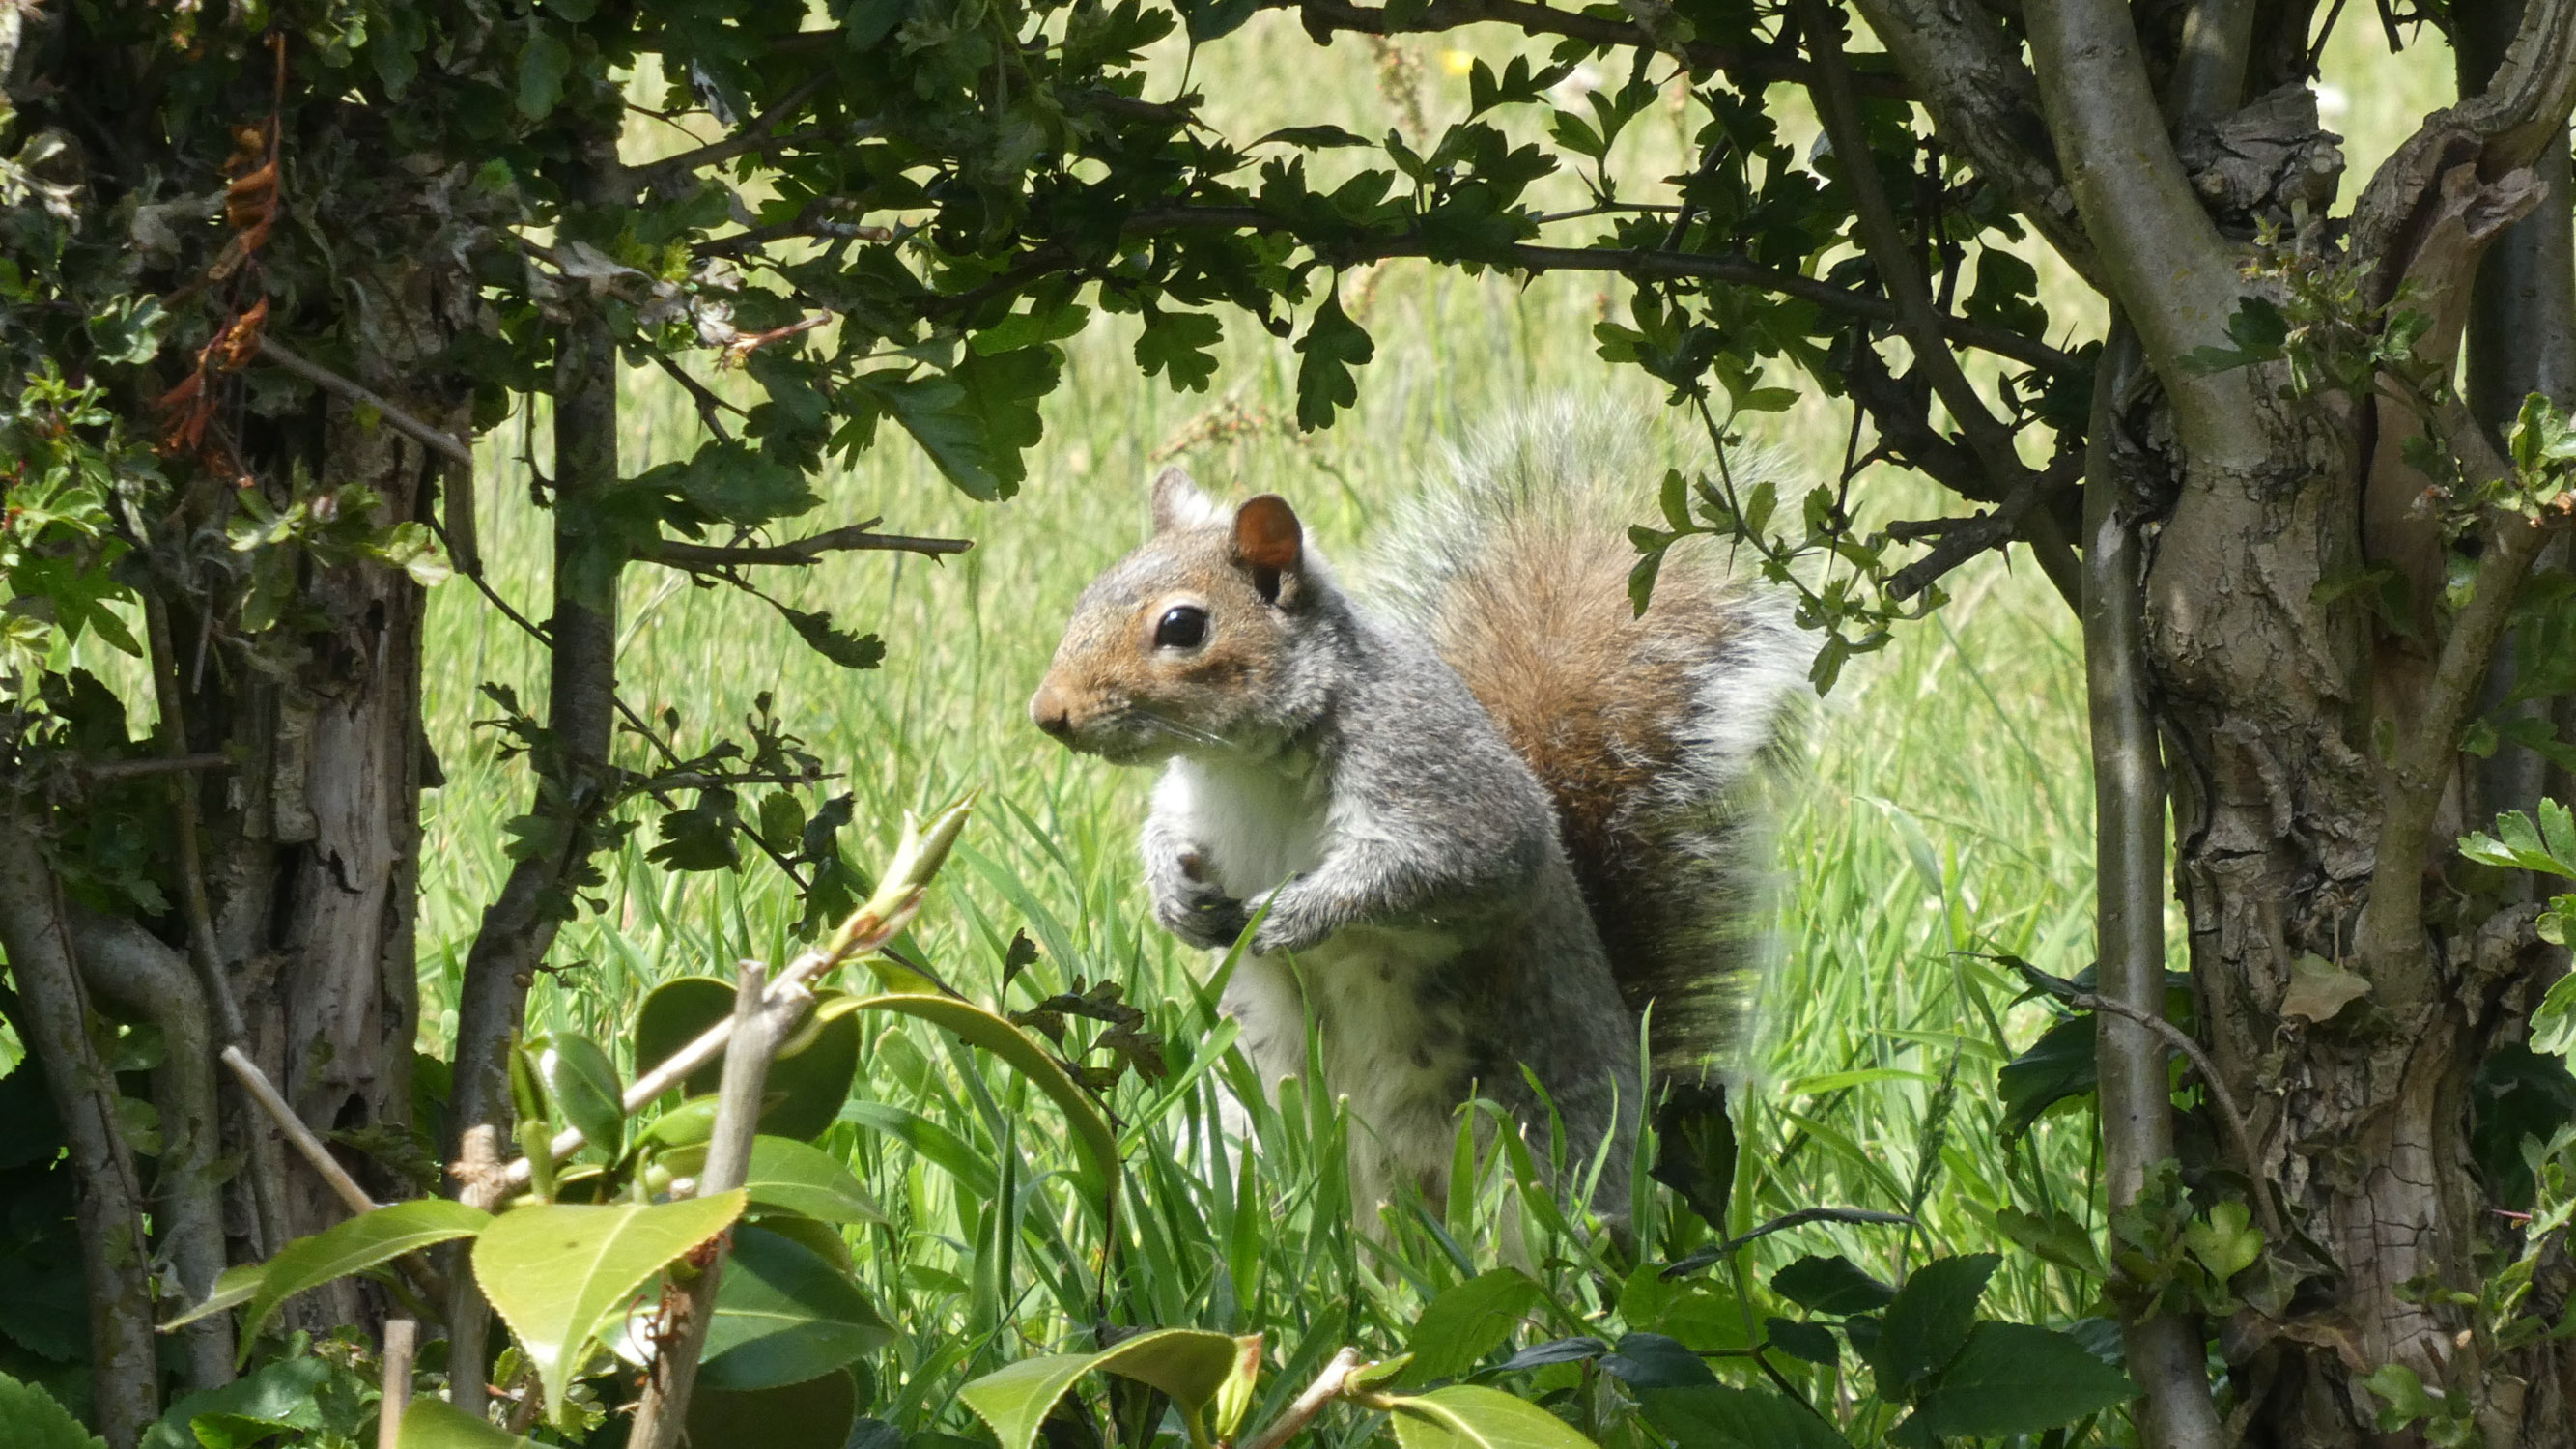
In this squirrel picture, the paws and food give the viewer something to investigate. Look for that small action in your own subject, rather than waiting only for it to face the camera.
Use the background deliberately
Scan behind your subject and around all four edges. A bright object near the edge may attract more attention than your carefully chosen flower. Try a step sideways or bend your knees. A background can become calmer without changing any camera setting.
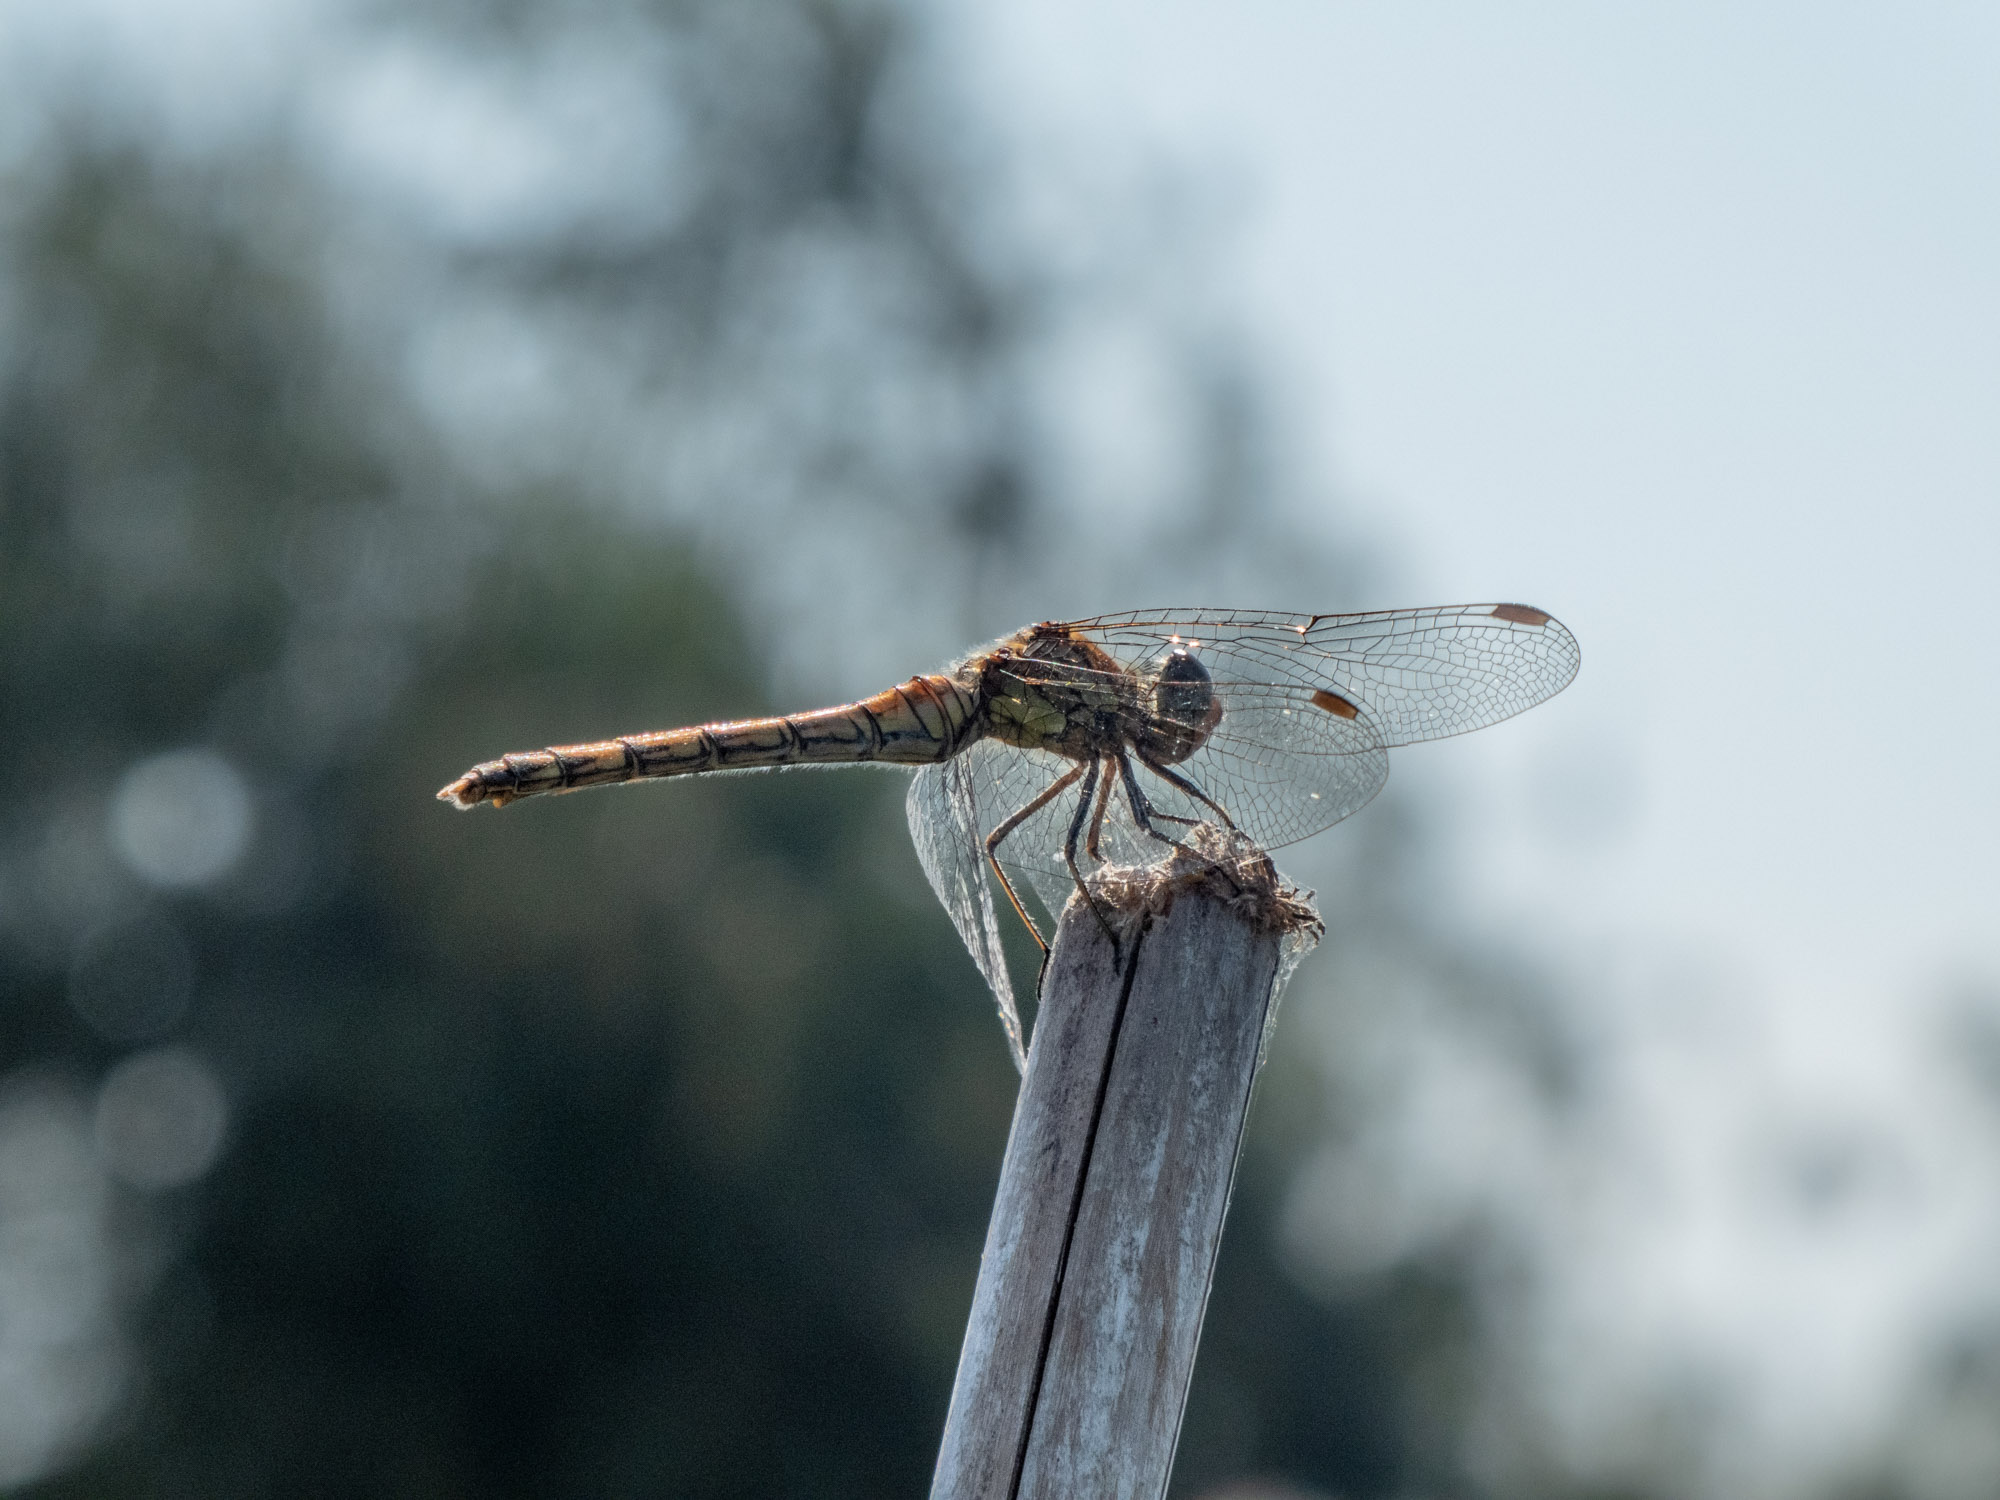
The dragonfly’s outline is easy to follow against the softer background. You can practise the same idea with a leaf or a mug: keep the subject in roughly the same place in the frame while changing what appears behind it.
Change your height
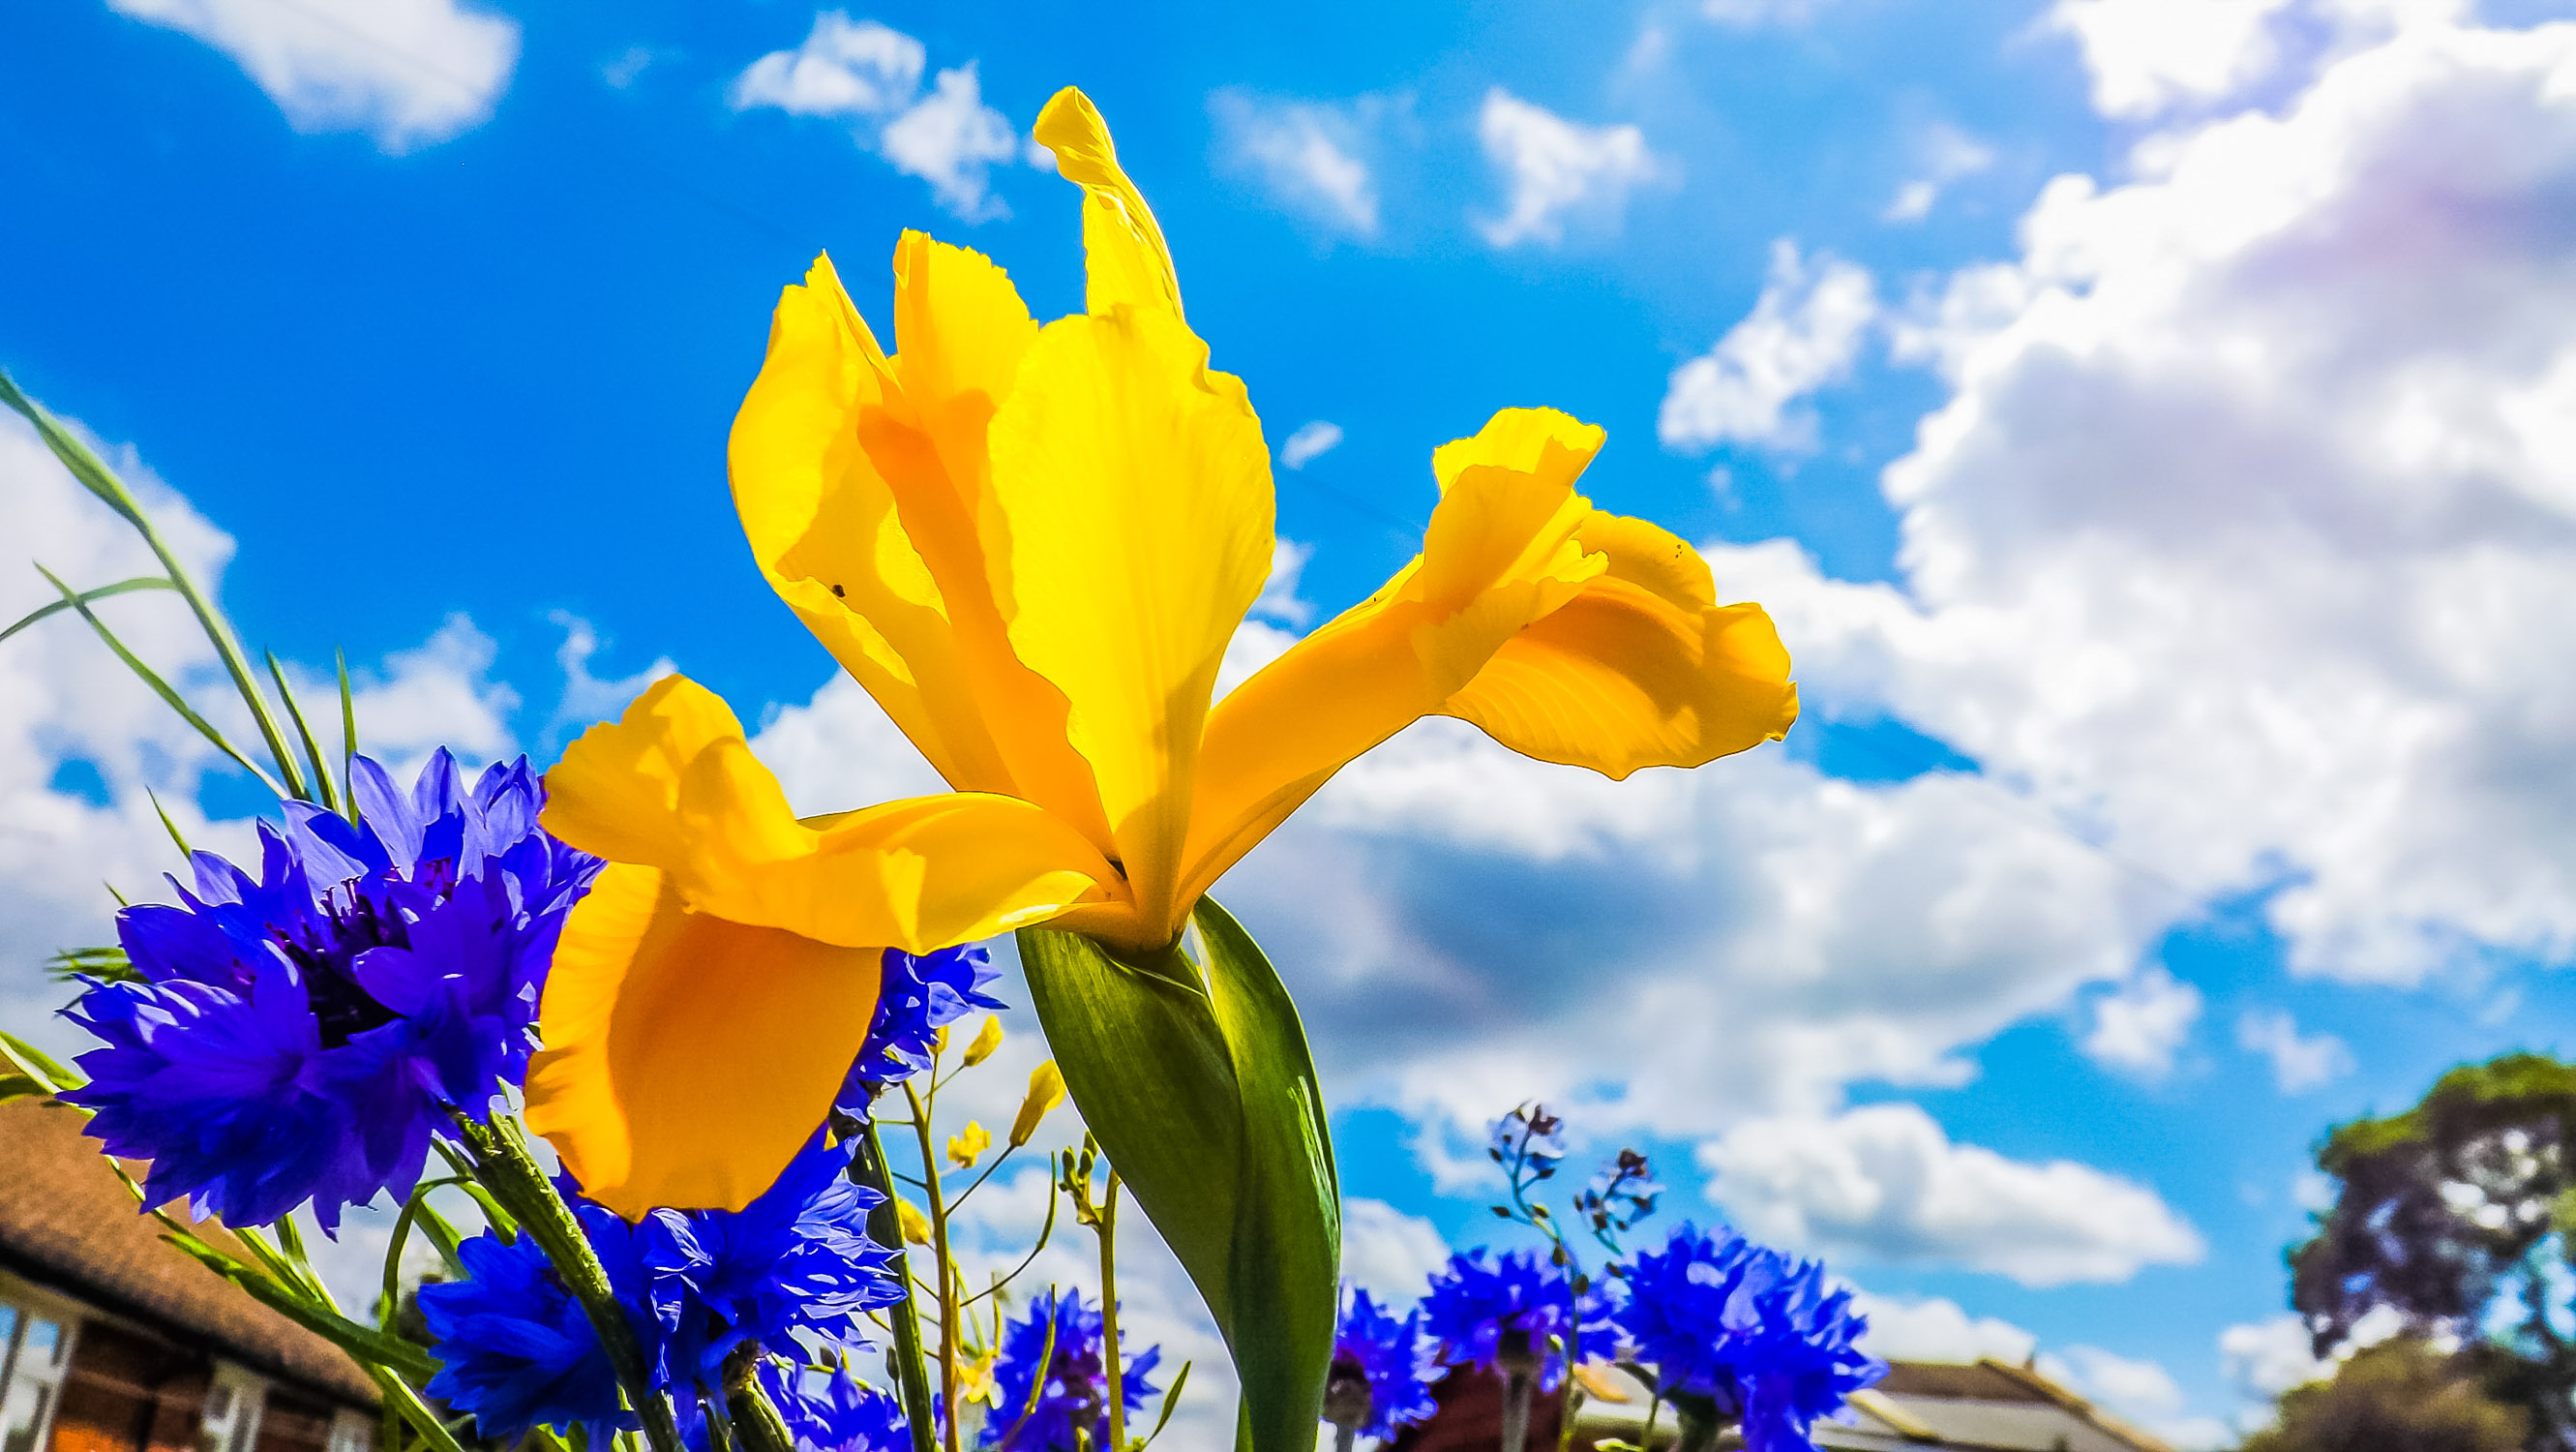
The low viewpoint in this garden photograph brings the iris up against the sky. Looking down from standing height would give a different picture. Neither approach needs to win a competition; choose the one that best expresses what caught your eye.
Try this: three versions
Take a close view, a view showing the surroundings and a view from a different height. Before each picture, pause to decide what it is about. Afterwards, pick the version with the clearest subject and explain your choice in one sentence.
Try a little more
Use a camera grid if it helps you arrange the frame, but avoid treating its lines as compulsory parking spaces. Try placing your subject centrally, then to one side. Check whether the extra space adds something useful.
For another look at these subjects, browse my Garden Wildlife and Flowers & Plants galleries.
Photography Tips: All eight posts · Previous: Better photographs begin with looking—not shopping · Next: Small changes, better pictures
No responses yet